Warning! Never perform maintenance on a tree that is plugged in!
Follow these instructions to learn how to assemble you Pre-lit or Non-lit tree. For Pre-lit trees, always work with the power off and never pinch the cords when lowering the branches. For Non-lit trees, please disregard lighting information.
Step-By-Step Instructions
Click on the thumbnail to scroll through the instructions, step by step.
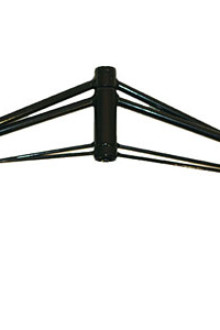
Step 1. Your package includes a stand. Locate the stand.
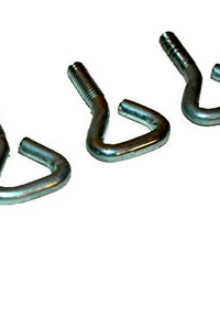
Step 2. Your package includes three tightening screws. Locate the screws.
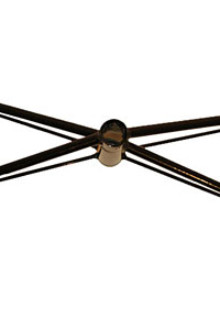
Step 3. Choose a stable flat surface for your tree and open your stand.
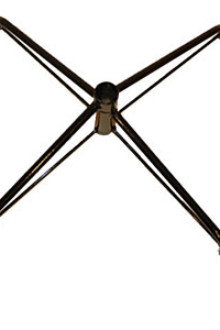
Step 4. The stand opens in a cross.
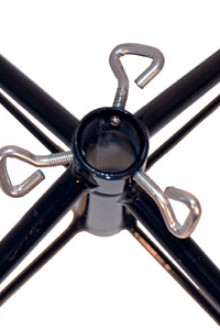
Step 5. Prepare the stand for the tree by inserting the screws partially.
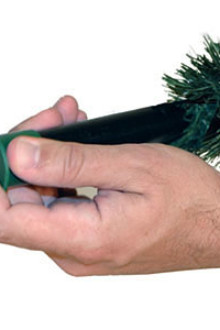
Step 6. The tree is shipped with a protective cap on the end of the center pole.

Step 7. Remove the protective cap
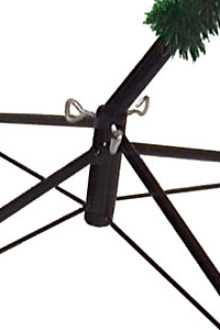
Step 8. Insert the pole for the Bottom section of the tree into the stand.
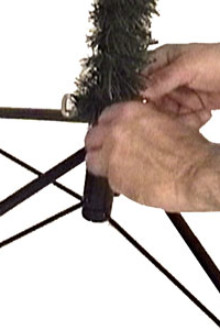
Step 9. Tighten the screws around the pole.
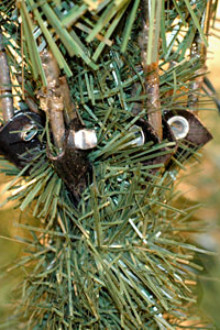
Step 10. Lower the hinged branches down. It is natural to have gaps, shape the tree around them
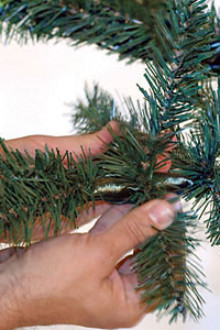
Step 11. Shape the tree by pulling the bristles out from the inside.

Step 12. The bottom section should be finished.

Step 13. Add the Middle section of the tree.
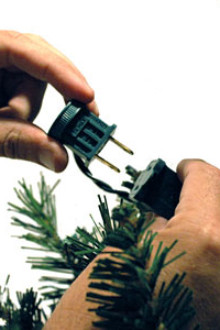
Step 14. Plug the sections together.
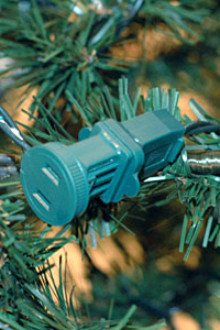
Step 15. Check to see that they are tight and blend them within the branches.

Step 16. Add the Top section.
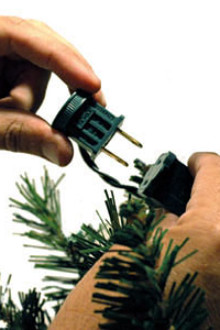
Step 17. Again, plug the sections together.
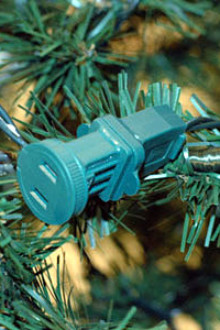
Step 18. Again, check to see that they are tight and blend them within the branches.